

Easy DIY Silicone Teething Necklace Tutorial (With Gifs)
Sweet baby “R” absolutely adores chewing on teething necklaces. She’s in the middle of getting a few more teeth in and is just a big fan of snuggles and silicone-biting.
Needless to say, teething necklaces are currently a mainstay in my mommy-wardrobe.
But in all honesty, I was having a bit of a tough time finding heaps of necklaces that I absolutely loved—with a bit of research, I decided to try and make my own. Turns out, this is a DIY that’s oh so easy-peasy.
Here’s how you can make your own silicon teething necklaces:
Step 1: Grab Your Supplies
To make these two necklaces (below) here’s what you’ll need:
For the all-black necklace:
For the blush and ivory necklace:
Marble 9mm Round Silicone Beads (Set of 5)
I purchased all my supplies from Alexa Organics—a family-run company started by Rande Ducharme. Ducharme is delightfully detailed when it comes to gathering (and certifying) kid-safe products. Every wooden piece she sells for jewelry is made of CPSIA compliant natural maple hardwood and is hand brushed with a blend of certified organic beeswax and olive oil. All of Alexa Organic’s silicone beads are 100% Food Grade Silicone, 100% Non Toxic, BPA Free, Lead Free, Cadmium Free, Phthalates Free, PVC Free and Mercury Free. Her necklace cords are made in the USA.
You’ll also want to gather some extra supplies:
Super glue (I used Krazy Glue)
Cupcake liners (to keep beads from rolling away)
Matches (I love Diamond Green Light because they are made from Aspen wood sourced from sustainable forests in Minnesota.)
*Note: You’ll probably have some extra beads left over if you order the Maple & Silicone Mixed Bead Set for the blush and ivory necklace. I suggest adding a few extra 30” cords to make your own necklace designs with the extra beads you’ll have.
Step 2: Prep the cord
Use a match (or a lighter) to melt the cord so that it doesn’t fray when you are putting on your beads or clasps. As far as timing, plan on letting the cord for <1 second before you’ll want to blow out the flame.
Step 3: Add one clasp to one side.
Slide your clasp onto one side of your silk cord. If it’s hard to get the clasp on the cord, try rotating the clasp a bit.
Step 4: Tie a square knot to keep your clasp from falling off.
This will also make it easier to string the beads onto your cord too. If you aren’t sure how to tie a square knot here’s a handy video. Make sure to pull the square knot as close to the edge of the cord as possible before you tighten it. That’ll give you plenty of cord-room for the rest of your necklace.
Step 5: Glue your square knot for extra security.
Once you’ve tied your square knot in the perfect place, it’s time to glue it. PS even with the glue and the knot, it’s always, always, always important to keep a close eye on your baby/toddler when they are playing with anything you DIY. Especially since this necklace has beads on it which can possibly be a choking hazard.
Step 7: Pull your clasp over your square knot.
Then, add a touch more glue to your clasp and square knot to keep it in place. If there’s any excess cord, feel free to cut it off at this point. You can even tie a second knot on the outside of the clasp for extra strength if you prefer.
Step 8: Add your beads
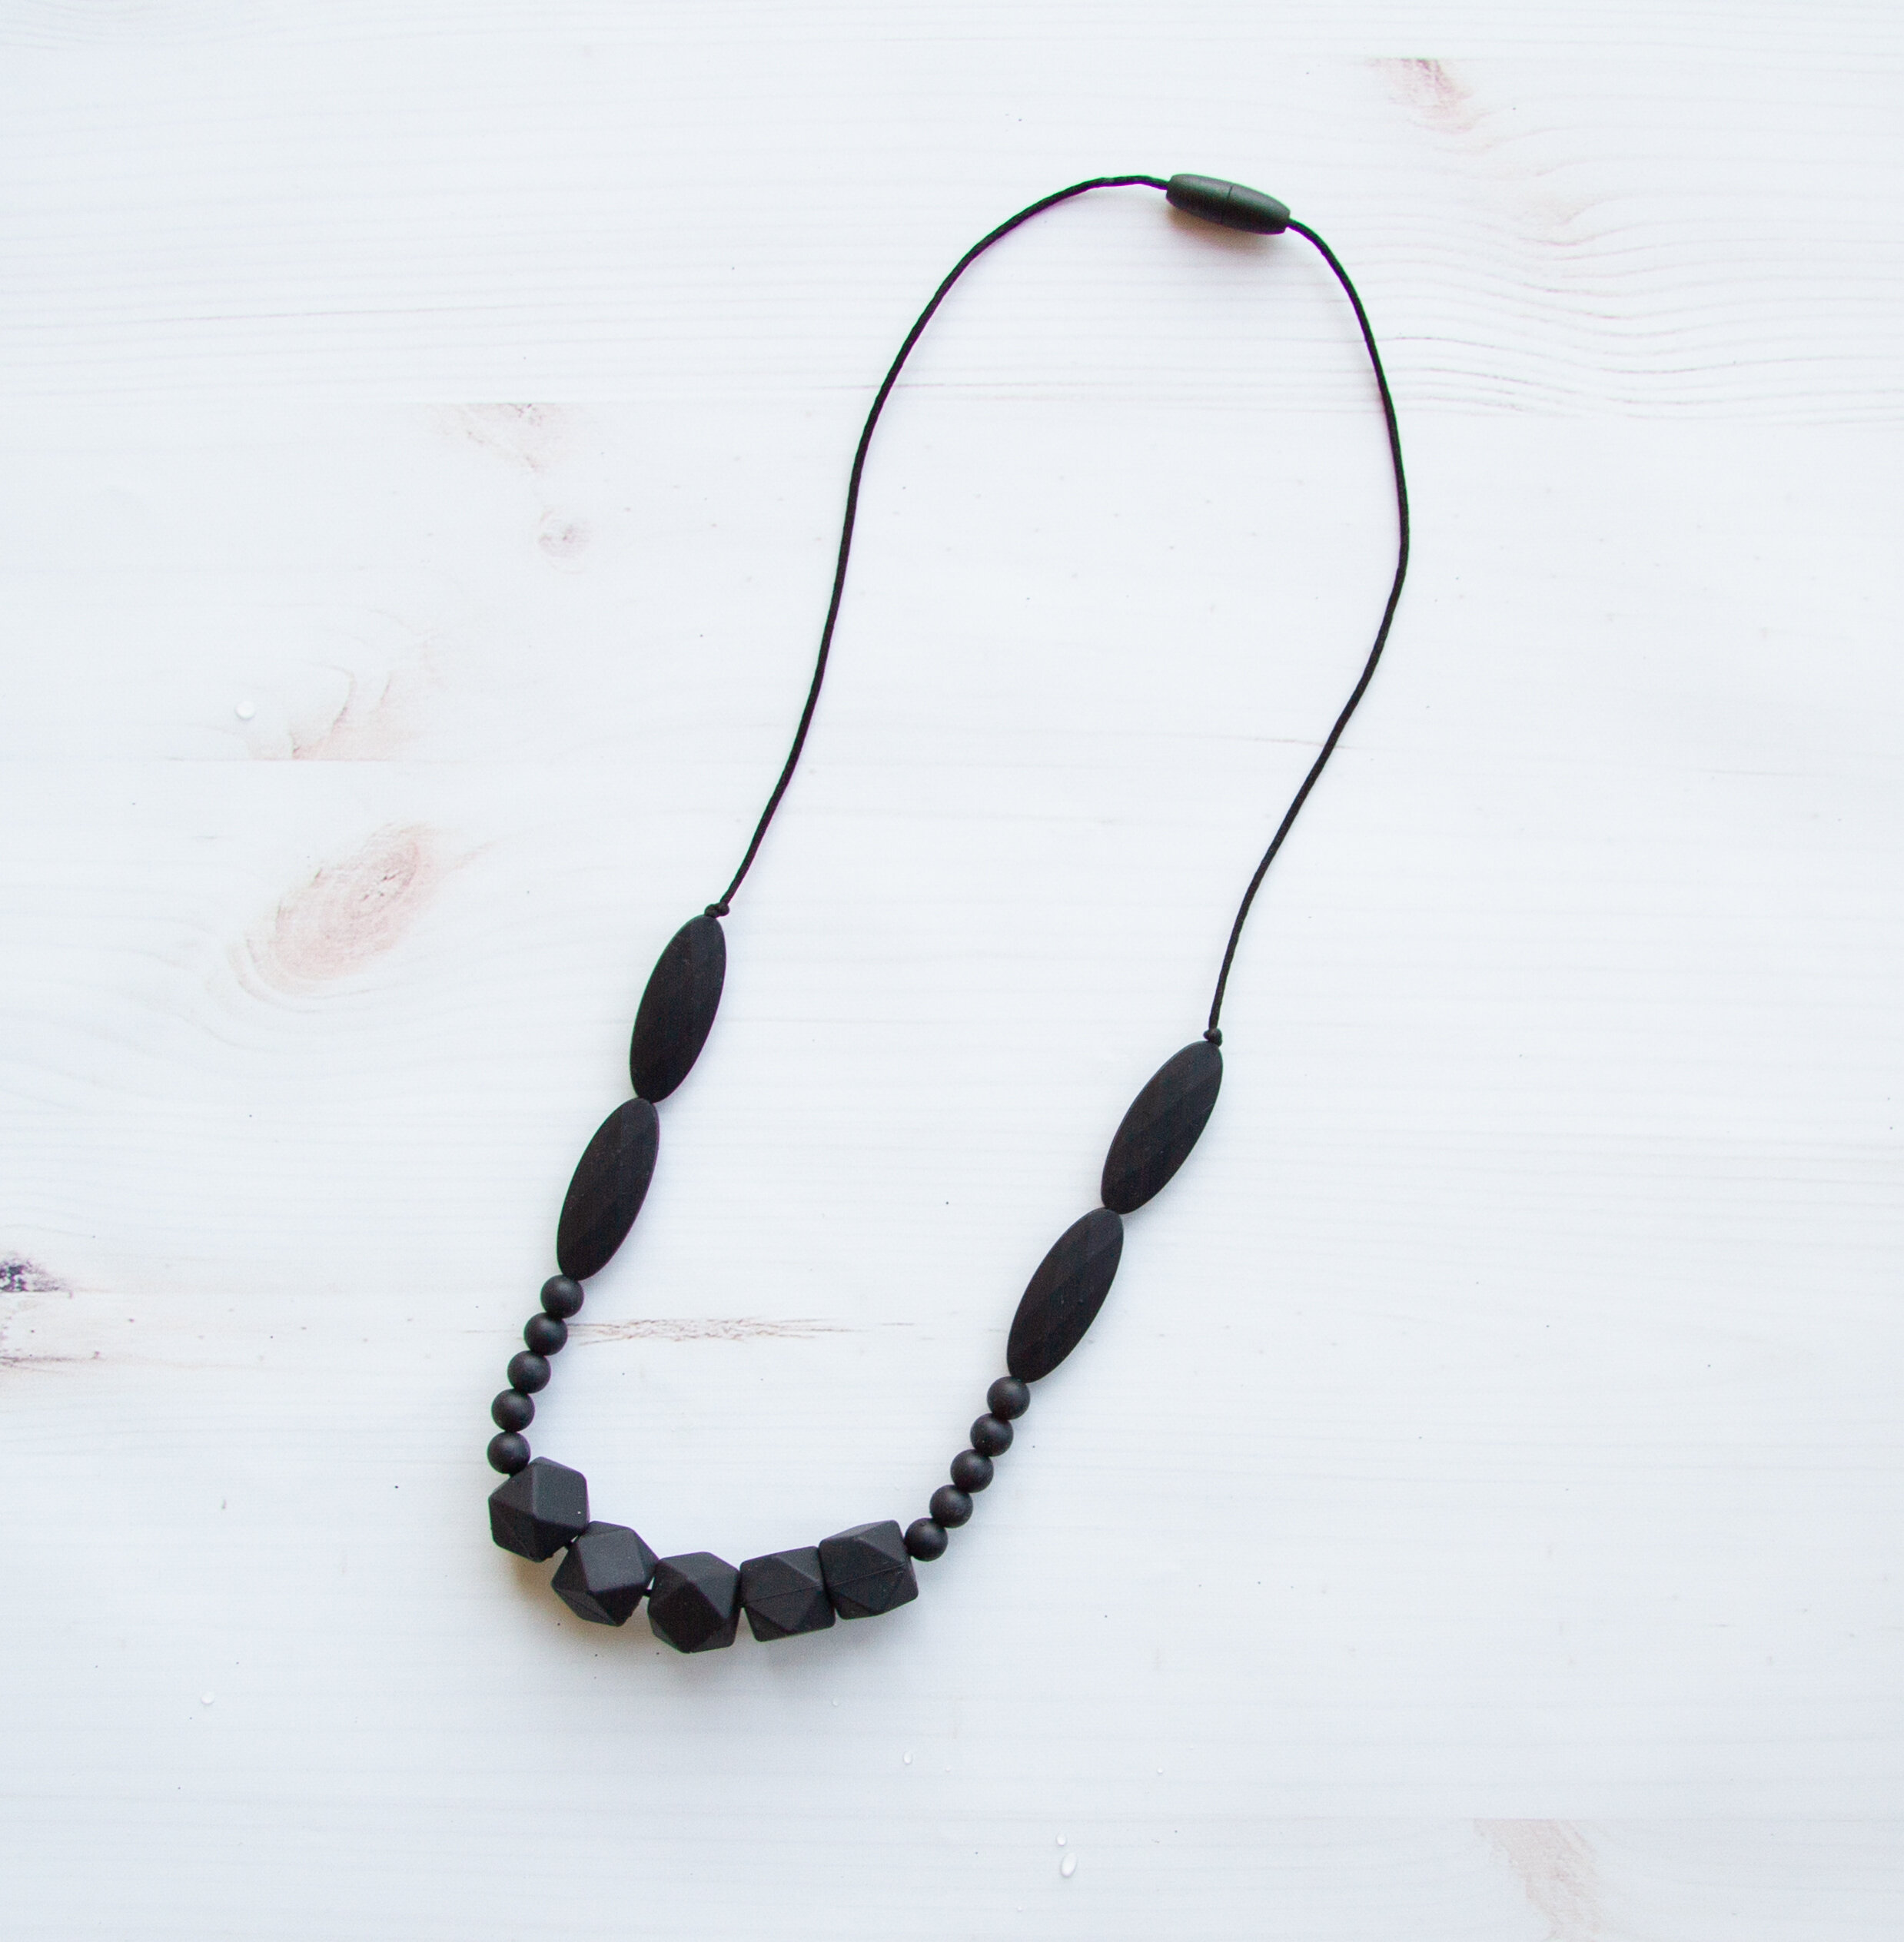
Here’s the pattern I used for the all-black necklace:
Two - Marquise Oval Beads
Five - 9mm Round Beads
Five - Hexagon Beads
Five - 9mm Round Beads
Two - Marquise Oval Beads
Here’s what your finished necklace will look like for pattern reference:

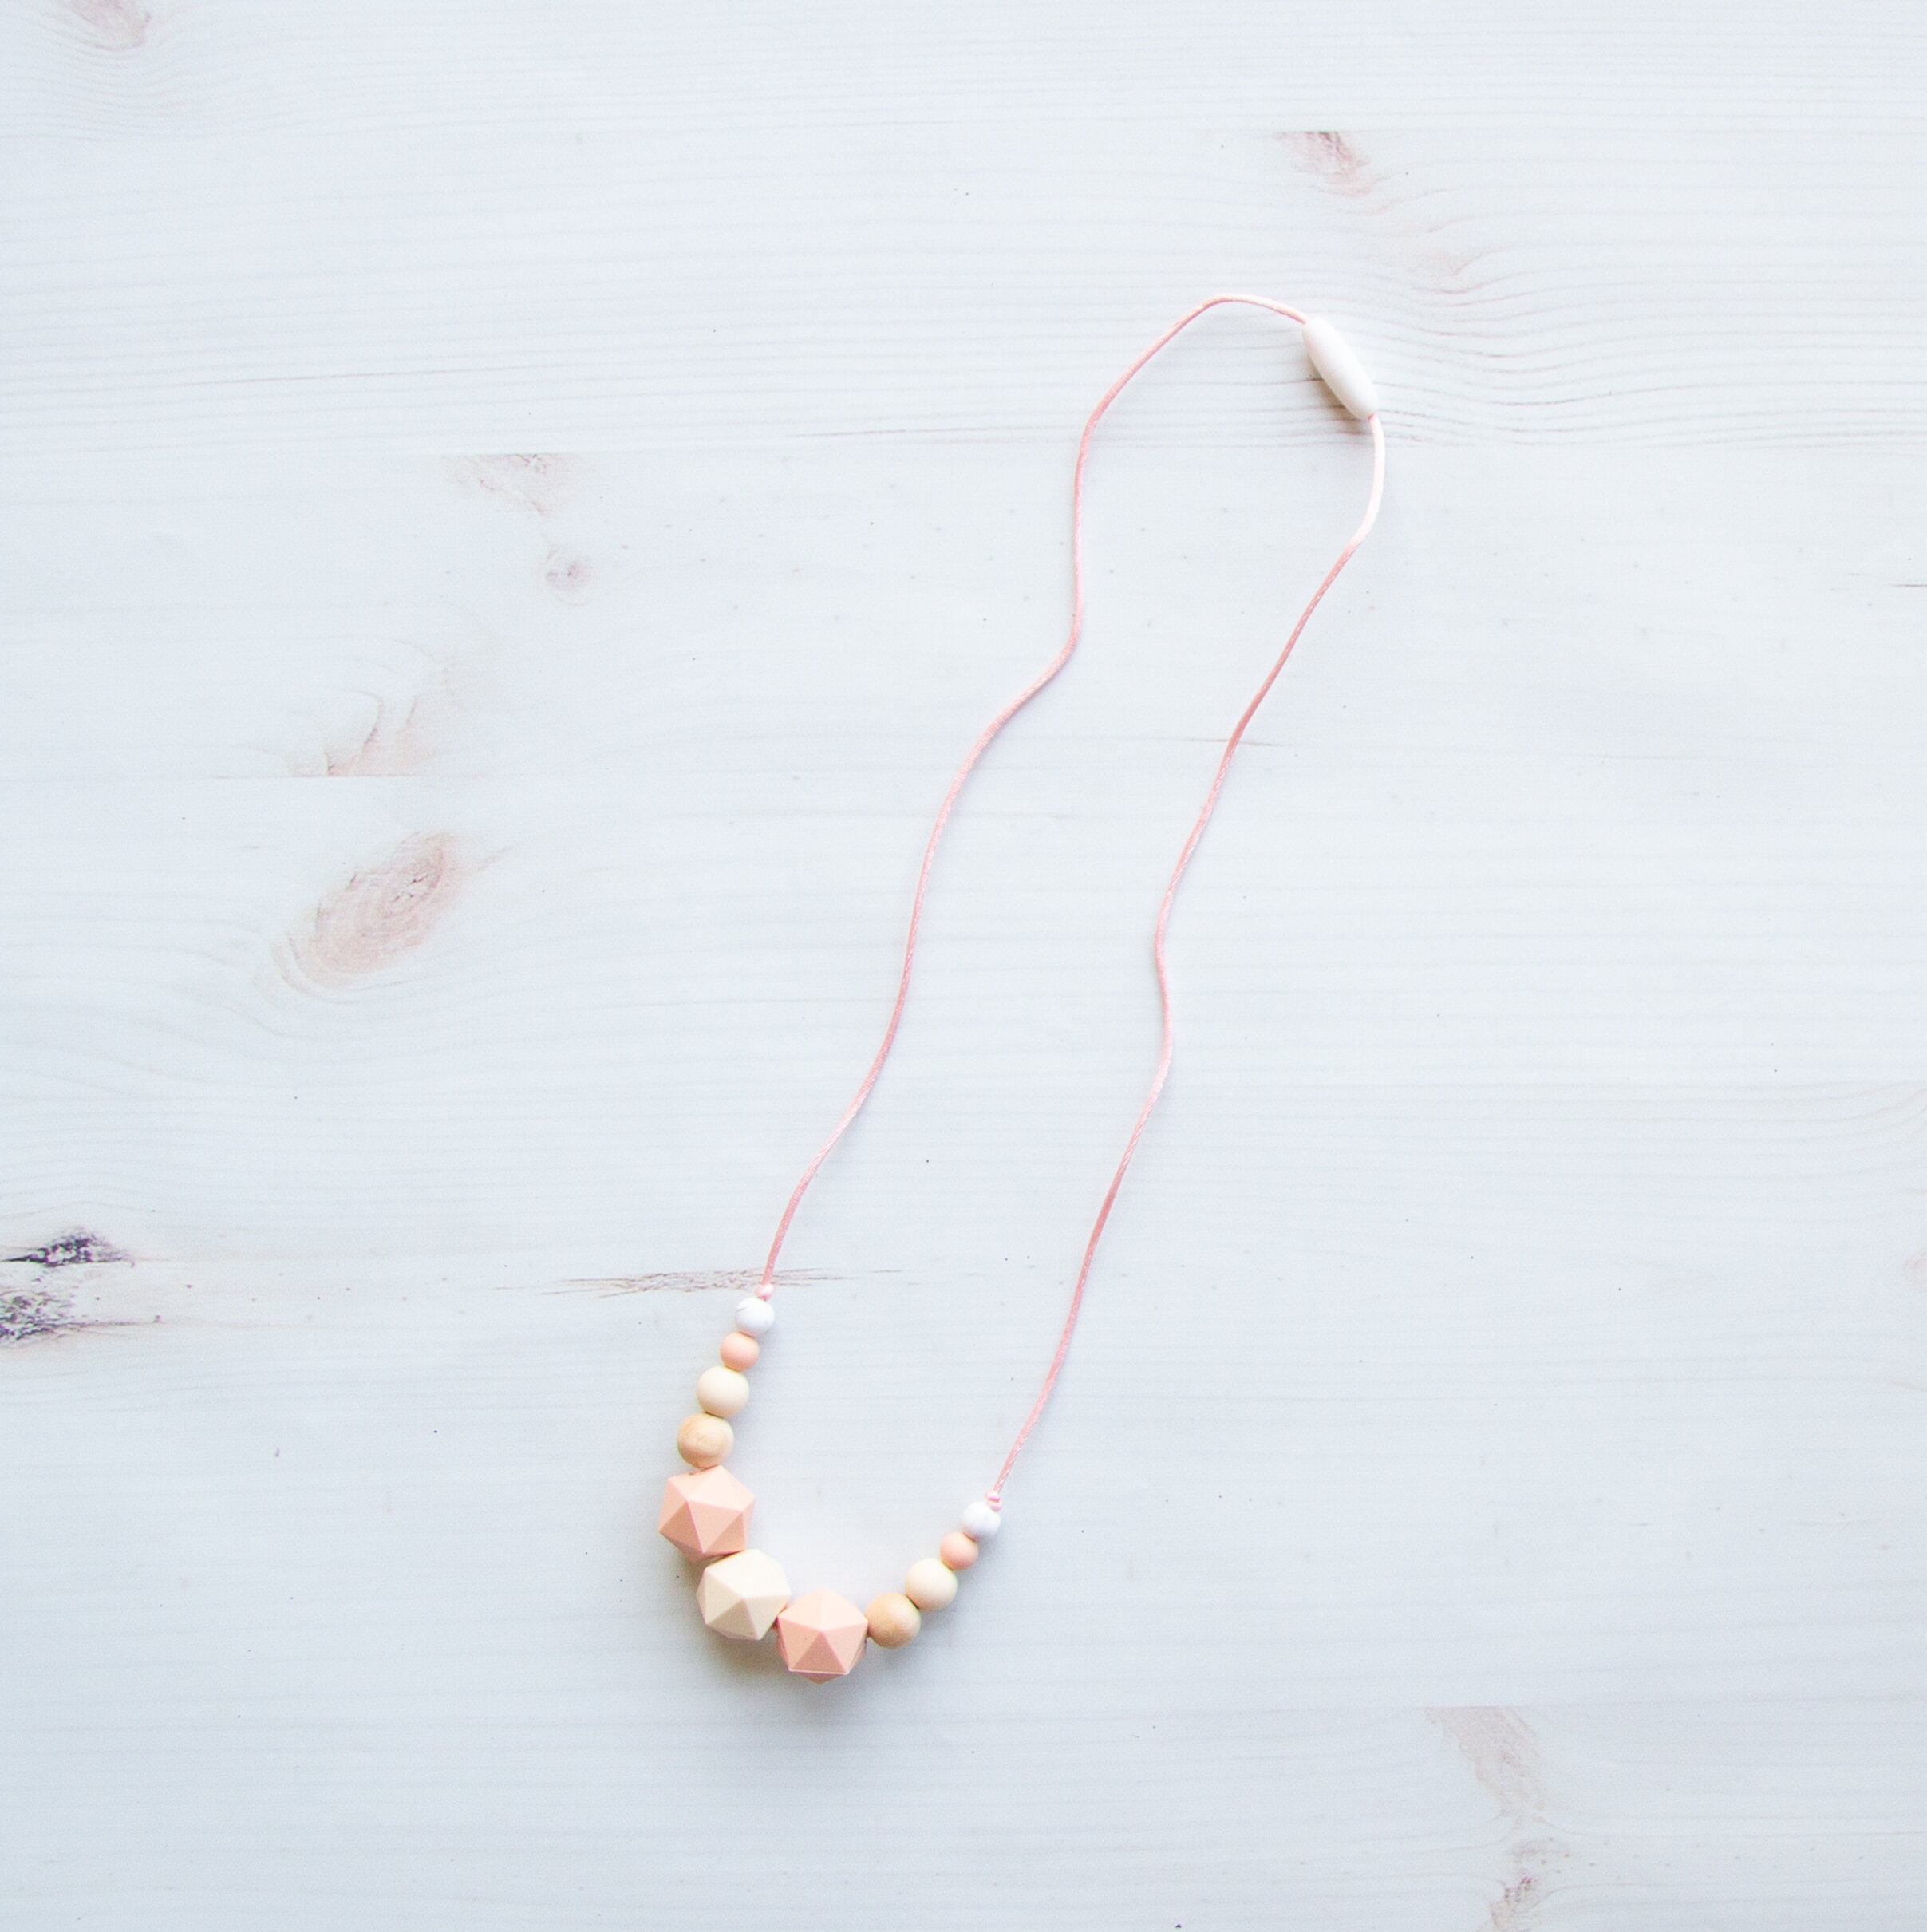
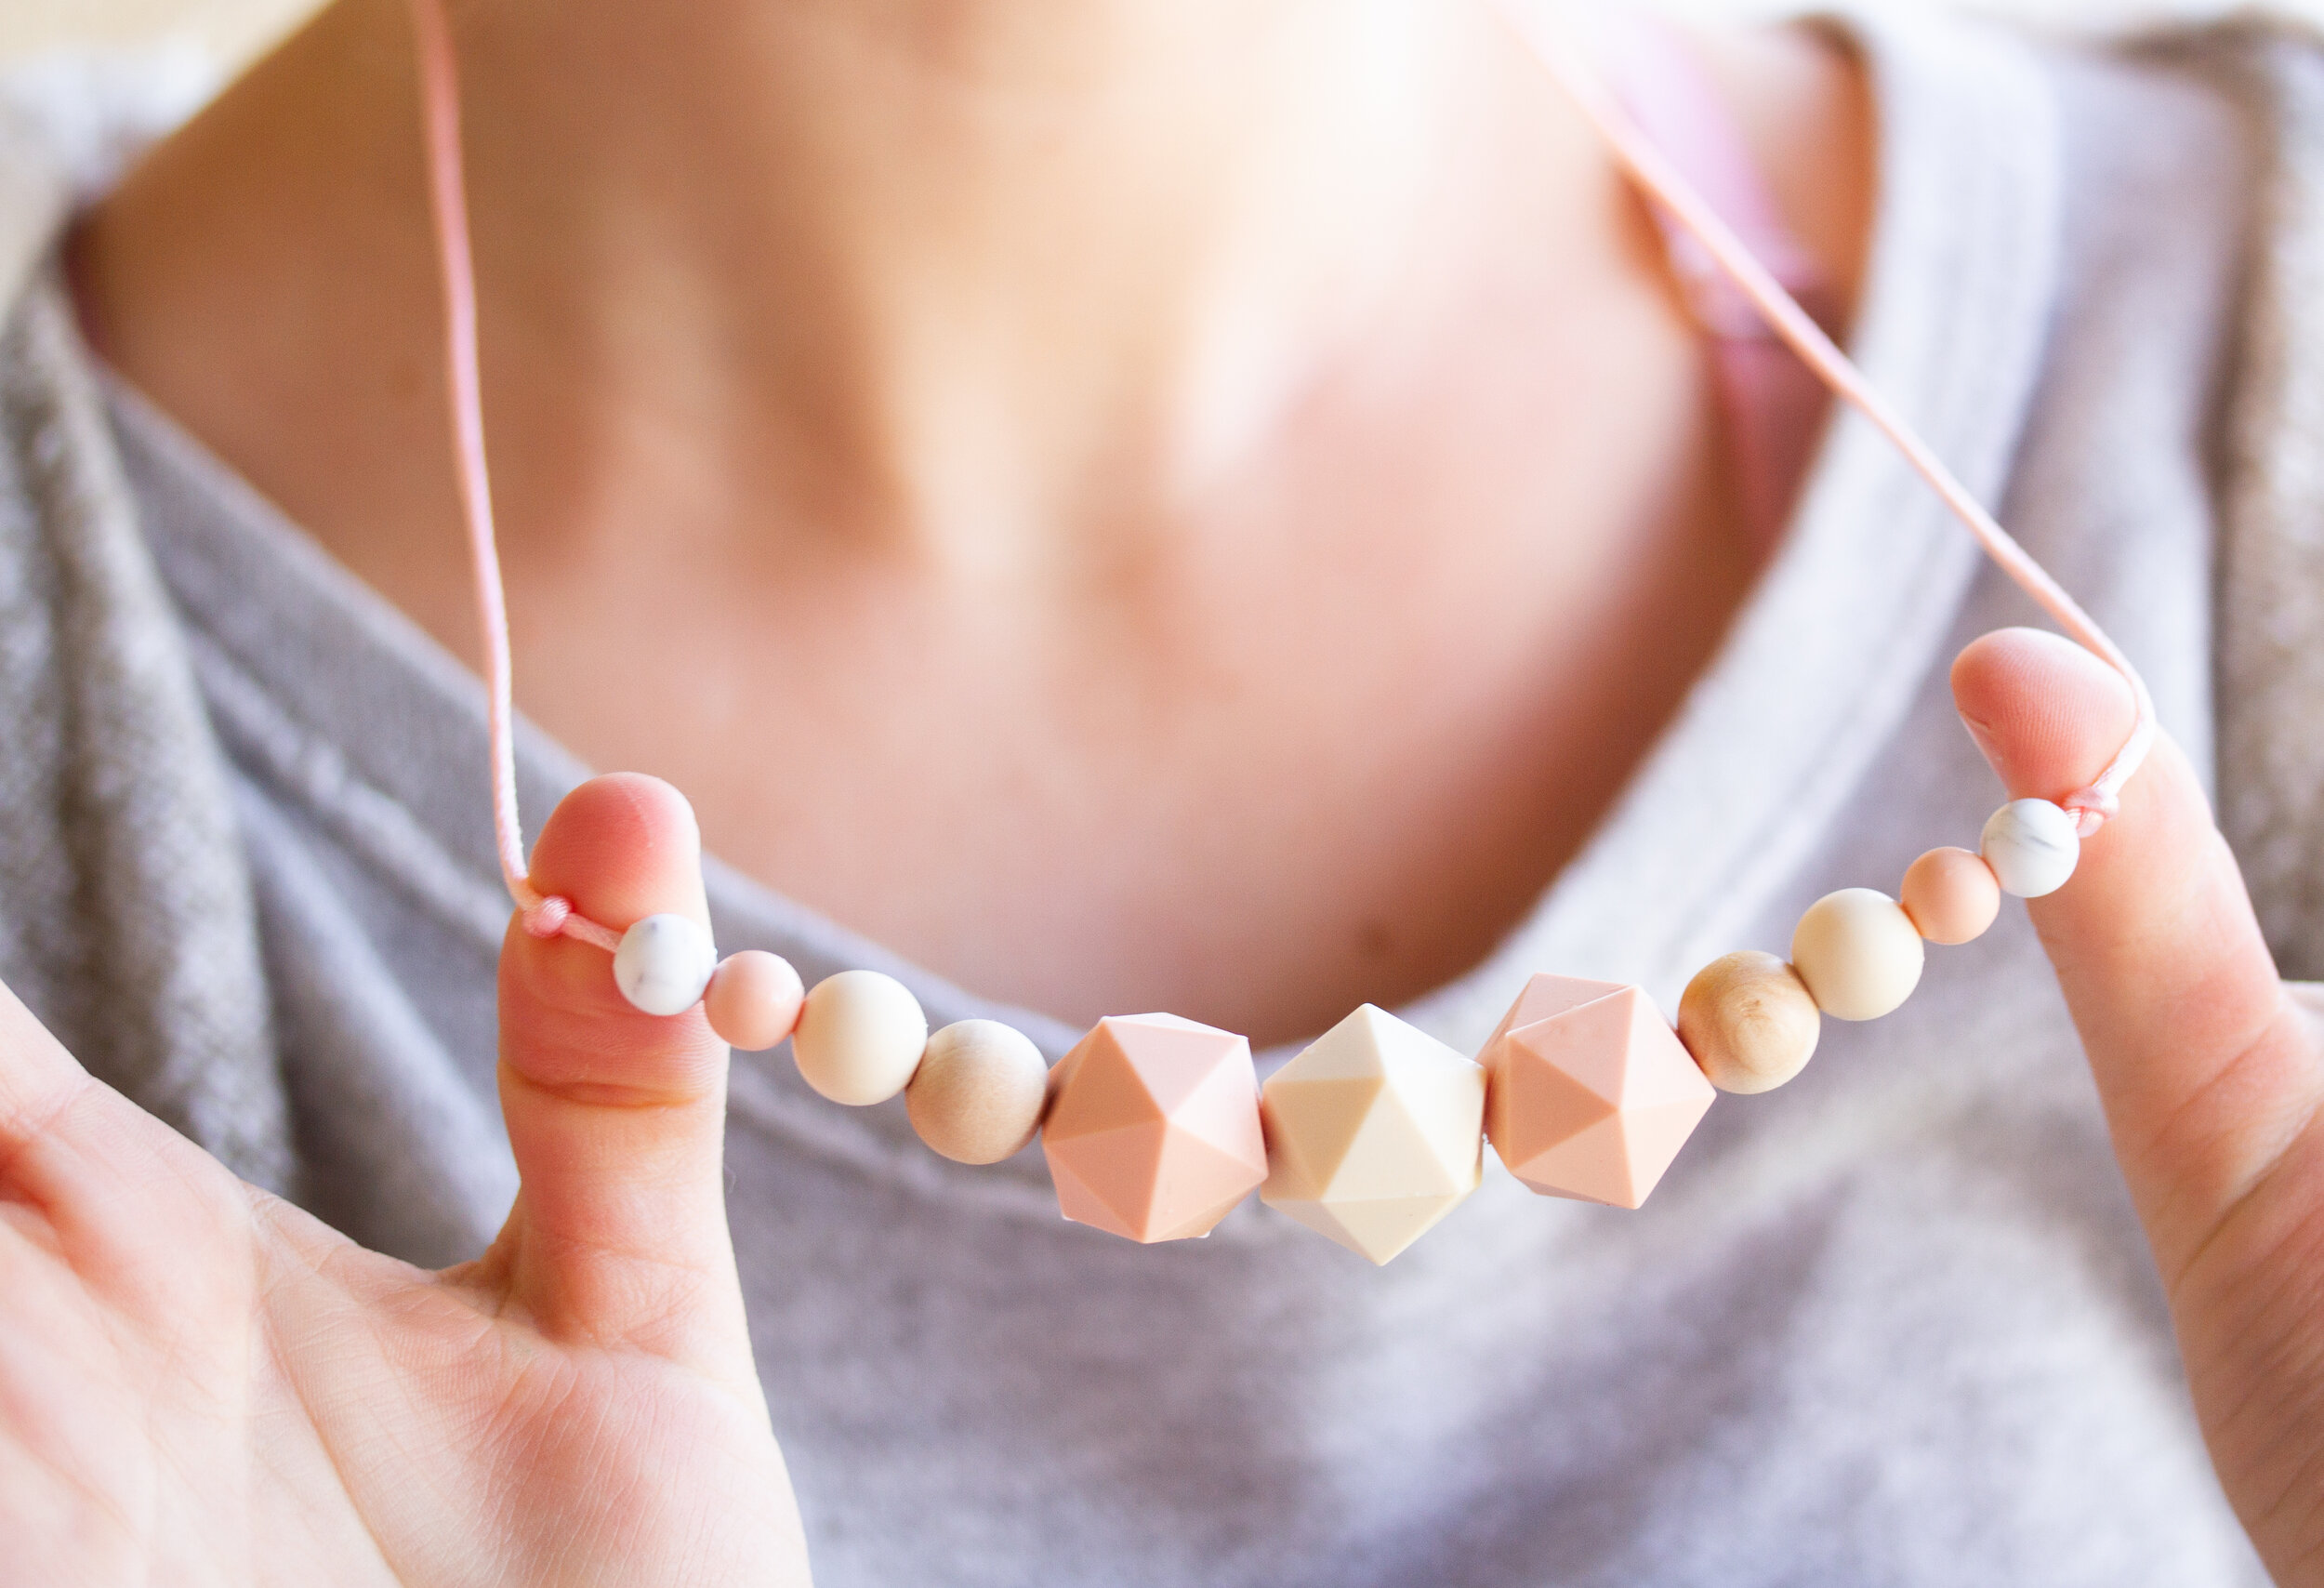
And here’s the pattern I used for the blush and ivory necklace:
One - Marble 9mm Round Bead
One - Blush 9mm Round Bead
One - Ivory 12mm Round Bead
One - Wood 15mm 1/2" (12mm) round bead Round Bead
One - Blush hexagon bead
One - Cream hexagon bead
One - Blush hexagon bead
One - Wood 15mm 1/2" (12mm) round bead Round Bead
One - Ivory 12mm Round Bead
One - Blush 9mm Round Bead
One - Marble 9mm Round Bead
Here’s a close up of the finished necklace. Hopefully, it helps you visualize the pattern.
Step 9: Center your beads and mark two spots.
Center your beads onto the cord. Then, mark a spot (or make a mental note) of where you should to tie a knot on both ends of the beads to keep them centered on the cord and in-place.
Step 10: Tie your knot and then add your second clasp.
Tie your knot against the beads in your marked spots. Repeat steps 3-7 (to add your second clasp to the cord).
Ta da! You have officially made a silicone teething necklace!
How did it go? Did your necklace turn out lovely? Chances are, with this tutorial you’ll have some extra beads left over. I’d love to see what you create. DM my sister and I on @CalmandChic on Instagram to share what you’ve made.
XOXO,
Lemon

