

How To Use Velcro To Make Paper Rosettes Reusable For Years To Come: An Eco-Friendly DIY Hack
Paper rosettes are my favorite! I adore them for their versatile (and eco-friendly) nature. Truly, they are a quick-fix that spruces up nearly any space.
Have a drab wall? Grab some paper rosettes
An unsightly ceiling? Hang some paper rosettes.
A bare space? You’ve got it. More paper rosettes.
I’m keenly aware that I’m obsessed with these circular paper party trimmings—and it’s an obsession that I indulge in.
Anyways, if you’ve followed any of my eco-friendly party posts so far (you can find them here and here) you’ll know that I love using (and re-using) paper rosettes.
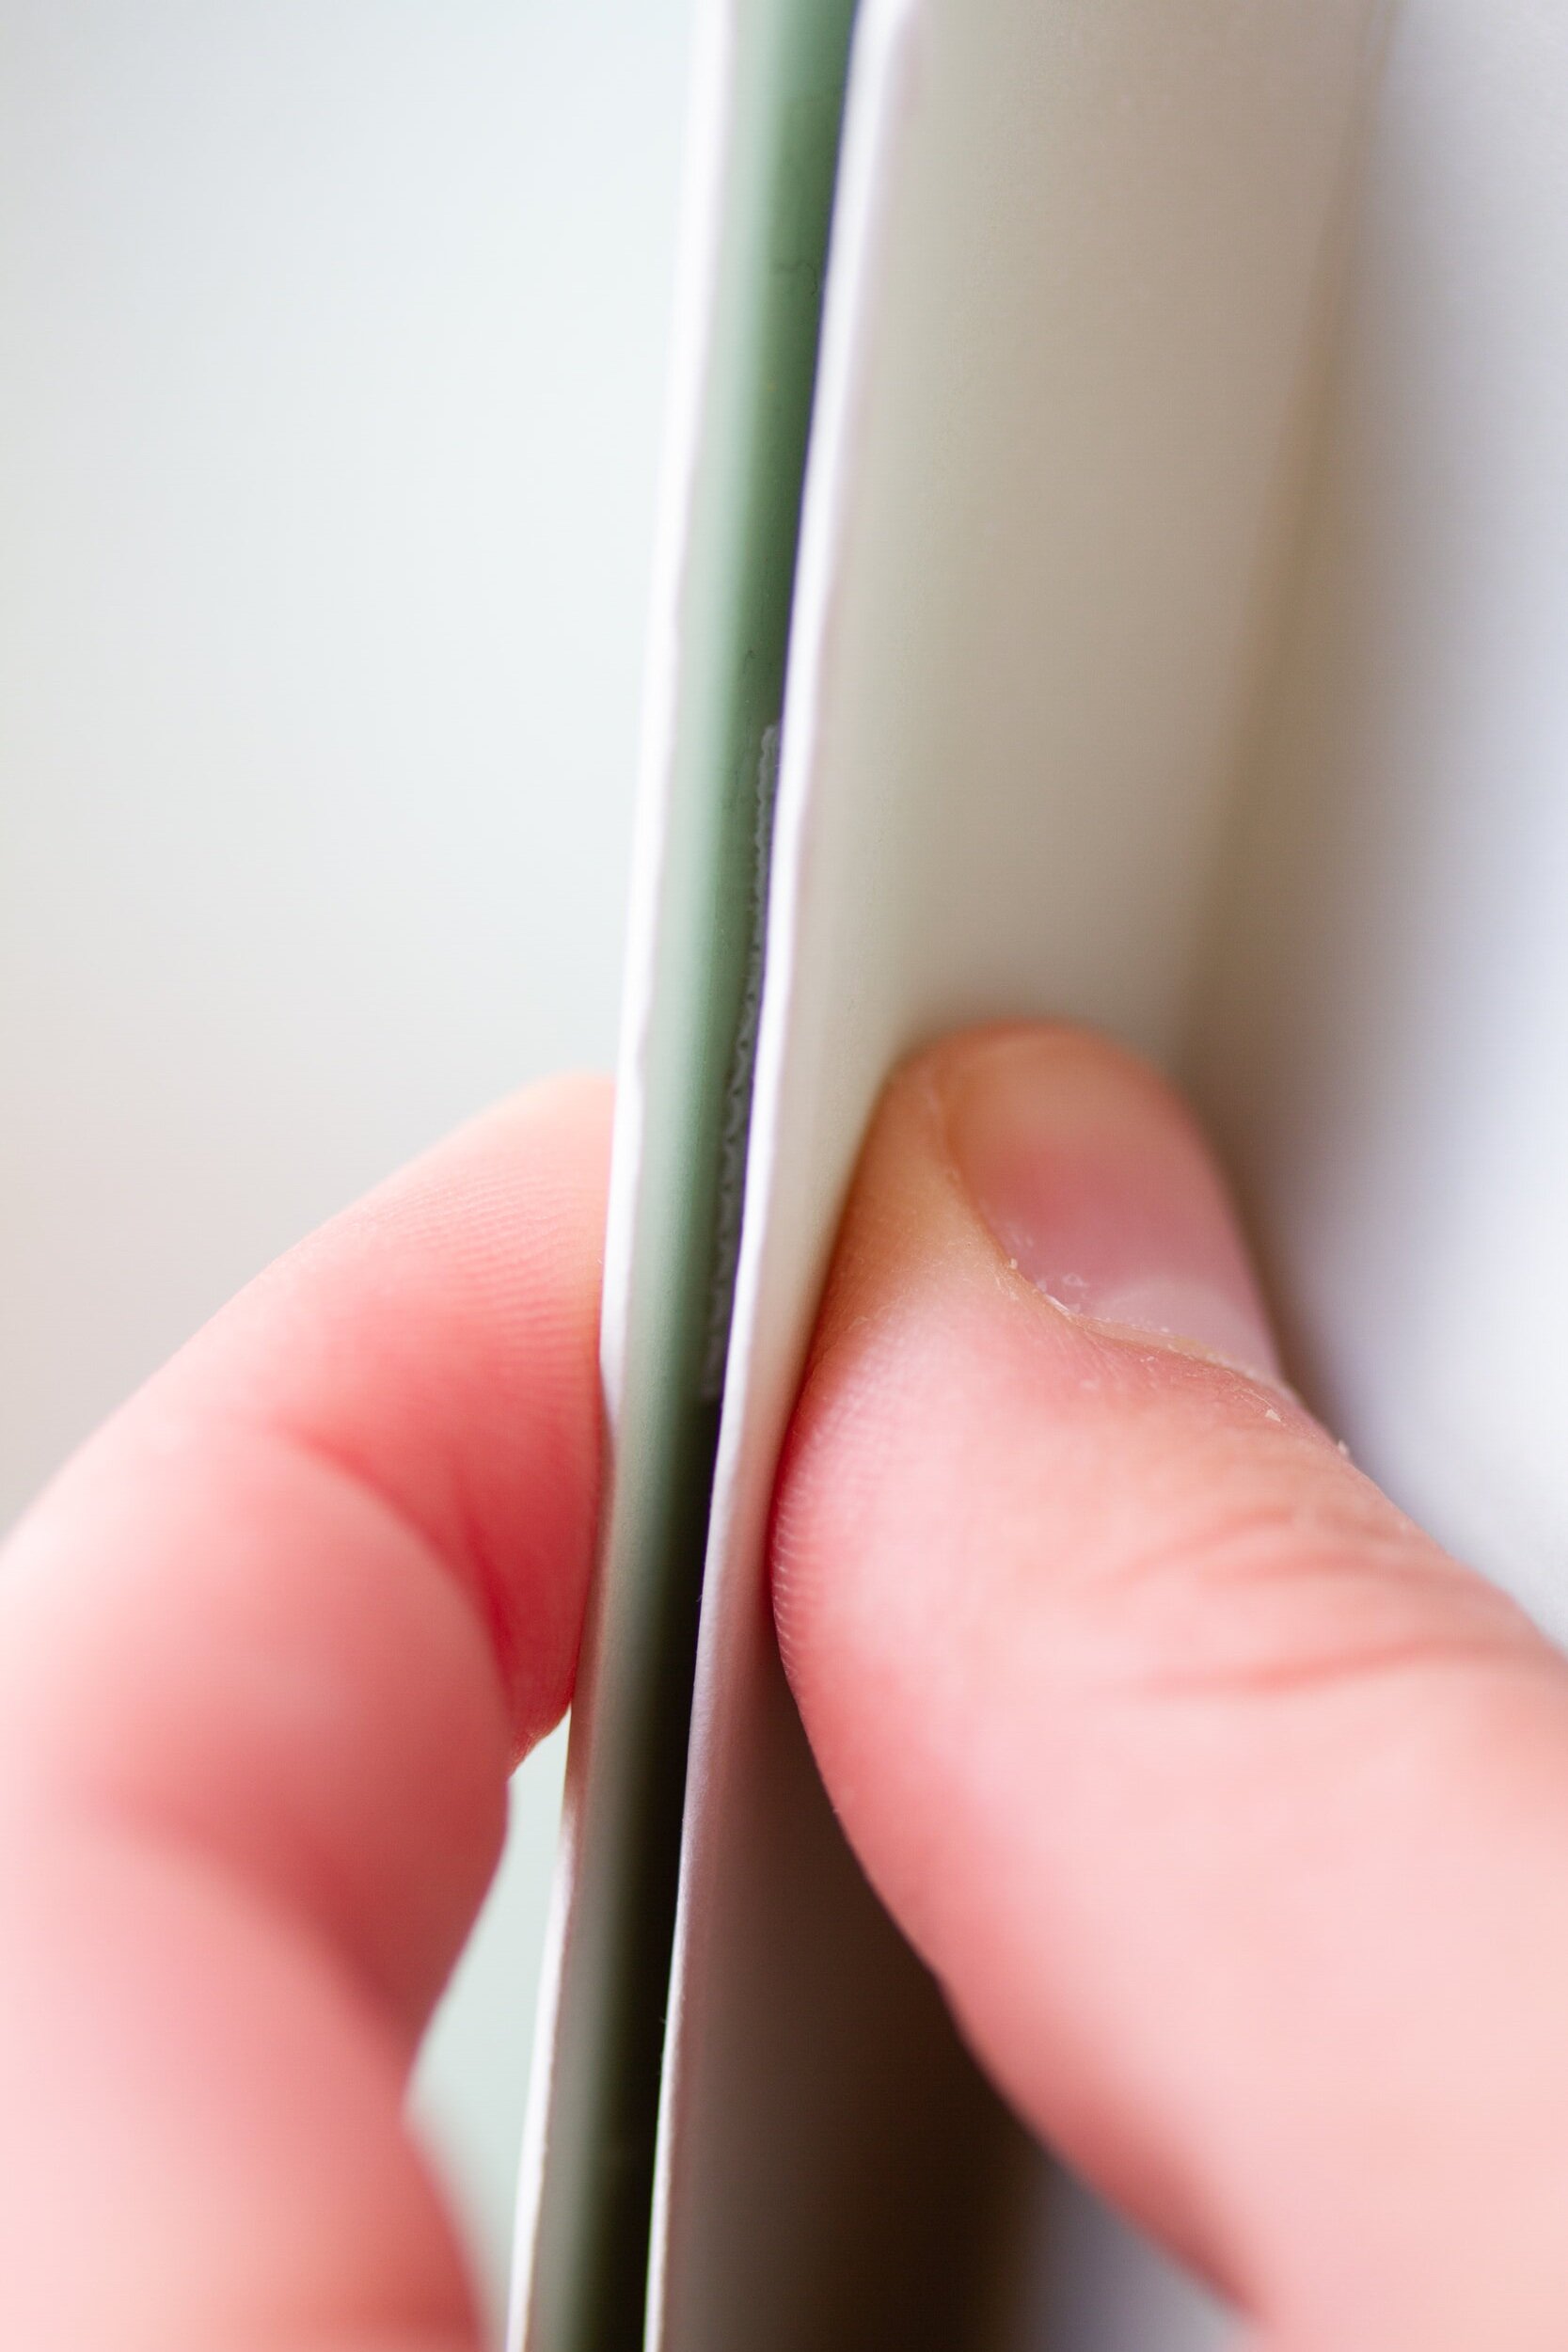
But there is one problem. Most rosettes come with some self-adhesive tape pre-applied to keep both sides of the paper rosettes together. Unfortunately, the self-adhesive is oh-so-sticky. In fact, usually when you try to refold the fan after your festivities are over, the adhesive will almost always tear the paper apart—it’s a quick way to to ruin your rosettes reusability.
After seeing a dozen or so of my favorite rosettes, fall victim to that pesky adhesive tape. I started searching for a solution.
I finally found that velcro really was a super simple way to salvage my rosettes and save the day. Here’s a quick tutorial on how you can use velcro too!
How To Add Velcro To Make Paper Rosettes Reusable:
Step 1: Leave the backing of the adhesive tape on your rosette.
Simply don’t pull off the baking and you’ll be all set for an easier application.
*If you are trying to apply velcro to a rosette with the backing already peeled off, you can always cover up that sticky-ness up with some normal tape.
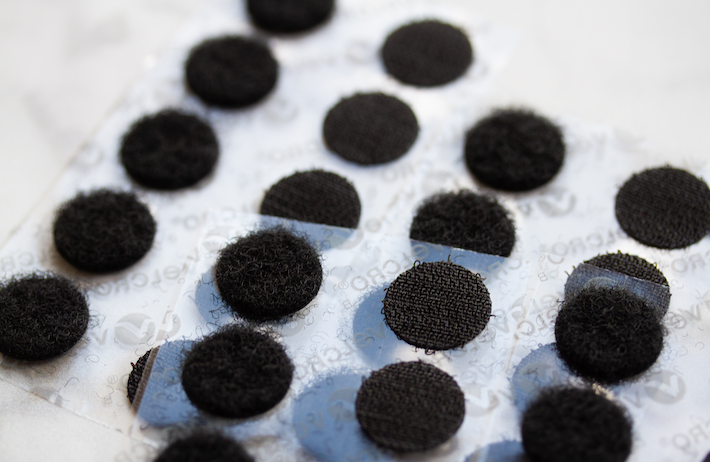
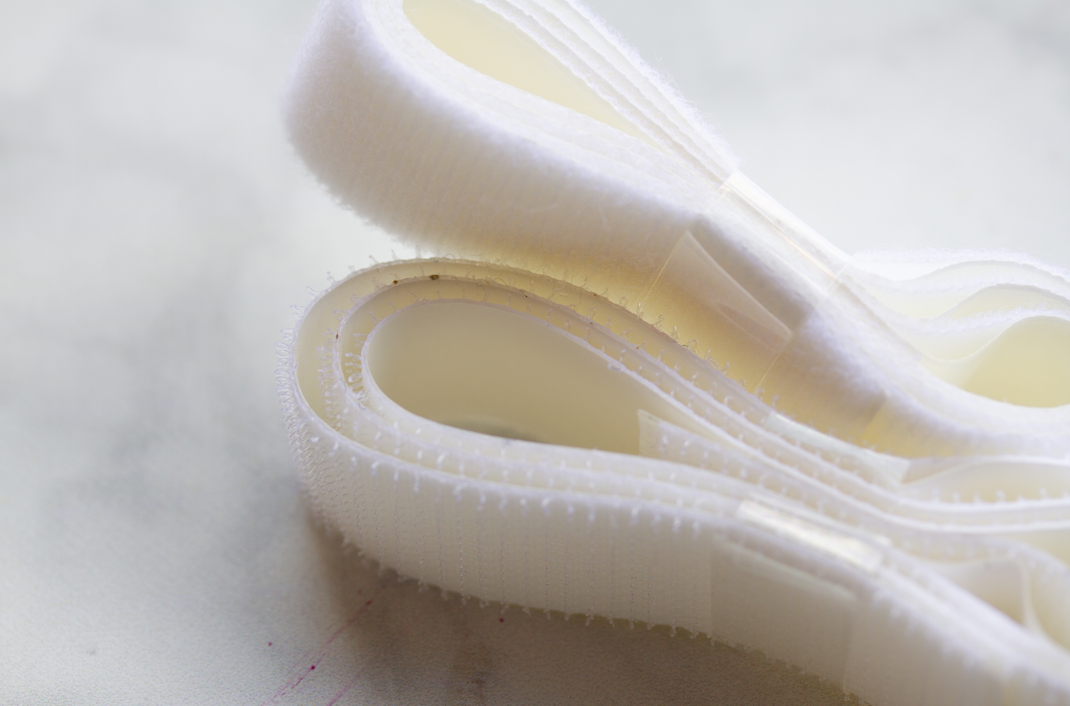
Step 2: Find your velcro of choice.
So far, I’ve used both these velcro dots and some customizable velcro tape—like this. I think both options work well.
The dots are quicker and easier to “eye”, but the tape is handy because you can trim it to your ideal size.
Whichever options you grab, I recommend purchasing it in both black and white so that you can use a color of velcro that’ll blend in best with your rosette’s colors.

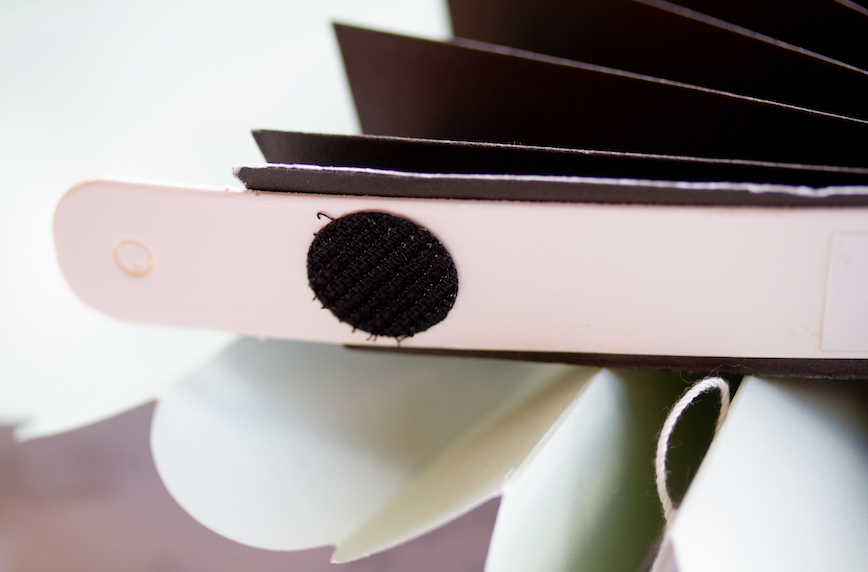
Step 3: Cut your velcro and mark an application spot.
If you are using the tape instead of the dots, you’ll want to trim both your hook and loop piece to the same size.
Measure about 2” down from the edge of your rosette and mark a spot with a pencil where you want to apply your velcro.
You’ll want to make sure you are planning on placing the velcro dot/tape somewhere that won’t pull off the original adhesive tape backing that usually comes with the rosette.
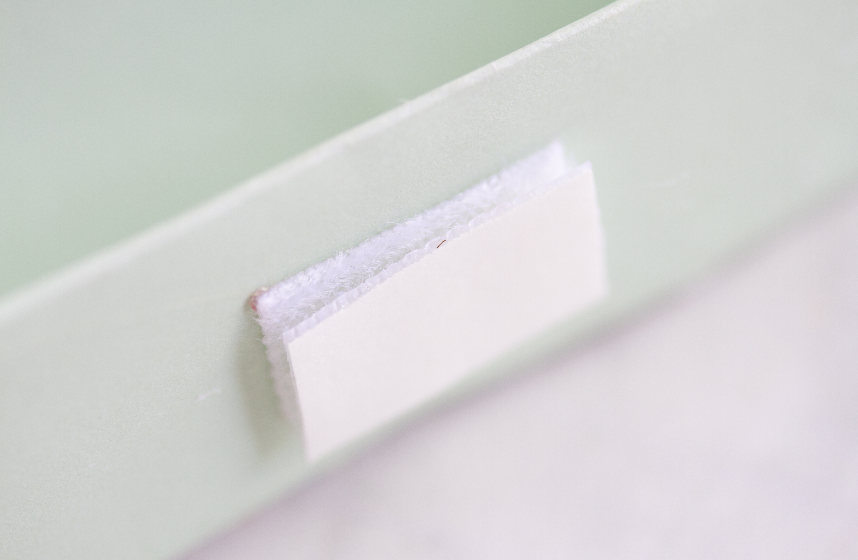

Step 4: Align and then apply your velcro.
First, find the “hook” piece of velcro (aka the rougher side of velcro) and remove the adhesive backing, then stick the hook piece of the velco one side of your rosette near where you previously marked.
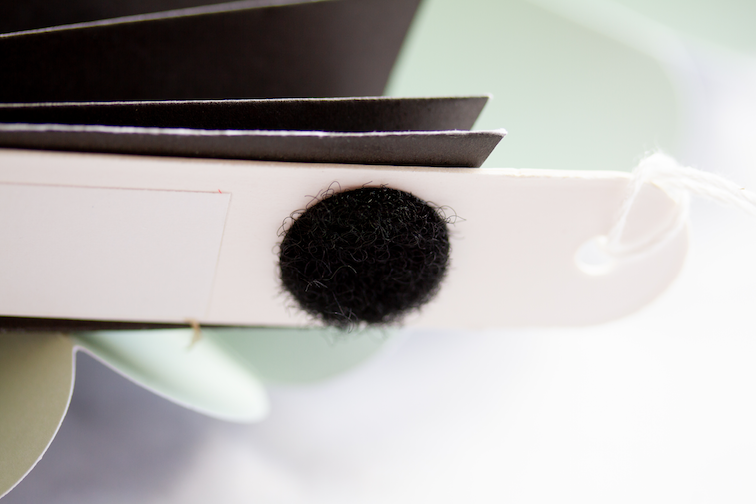
Next, take the “loop” piece (aka the softer side of the velcro) and stick it onto your hook—make sure to leave the adhesive backing still on your loop piece. That way, you can adjust the piece until the loop and hook are perfectly aligned.
Once you’ve aligned the two pieces, then you can removed the adhesive backing on the loop piece.
When the backing is off, press the other side of the rosette to the adhesive side of the velcro-ed loop piece. Hold both sides together firmly for about 2 seconds.
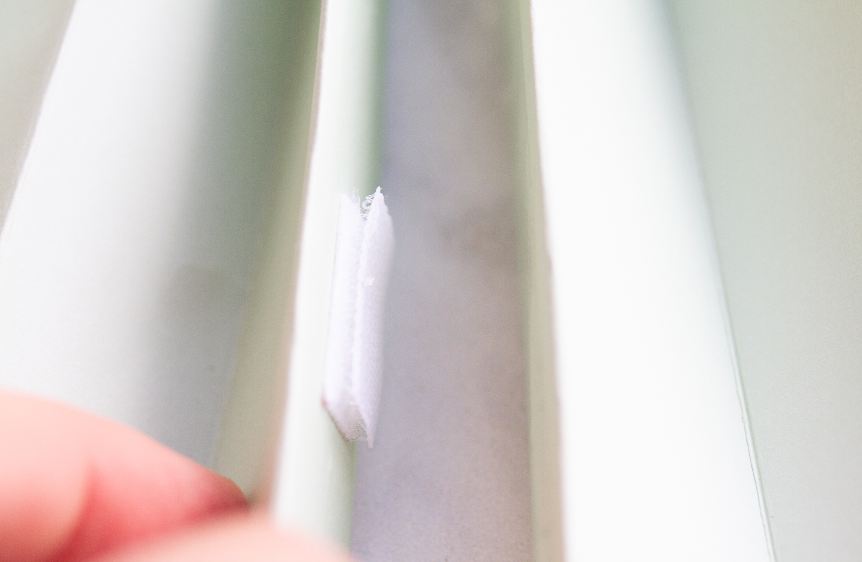
Then, gently release and try to pull your rosette apart. The velcro should tear apart easily and you’ll have two perfectly aligned sections of velcro tape on either side of your rosette.
If you are using the dots, here’s what the process will also look like.

Viola! You’ve DIY done it and your rosettes should be ready to use and reuse for years to come. Huzzah!
Oh, and if you are wondering where you can find some ethically sourced pre-made rosettes here are some of my favorite sources:
Did this tutorial work well for you? Do you have any eco-friendly DIY craft hacks? My sister and would love to hear all about it! DM us on Instagram #CalmandChic with your thoughts.
Cheers,
Hazel

