

Crafting Creativity: Two DIY Montessori Mobiles that Siblings Can Make for A New Baby
In my home right now we are in the midst of prepping for another baby to come join our family. So I’m neck-deep in nesting mode and loving it.
These few months I’ve been obsessed with finding easy ways for my older kiddos to make small connections with the baby—and since the earliest weeks of a baby’s life usually involved high contrast images, I figured we’d make some crafts that would help with that.
Introducing—two montesorri-inspired mobiles. These crafts are the perfect way to help older siblings feel engaged in part of the baby prep.
Plus, it’s also a great conversation starter to help explain to toddlers some baby-sight-basics like: high contrast, tracking and depth perception.
I hope you enjoy these DIY whimsical wonders that will captivate siblings and nurture your baby’s growing mind.
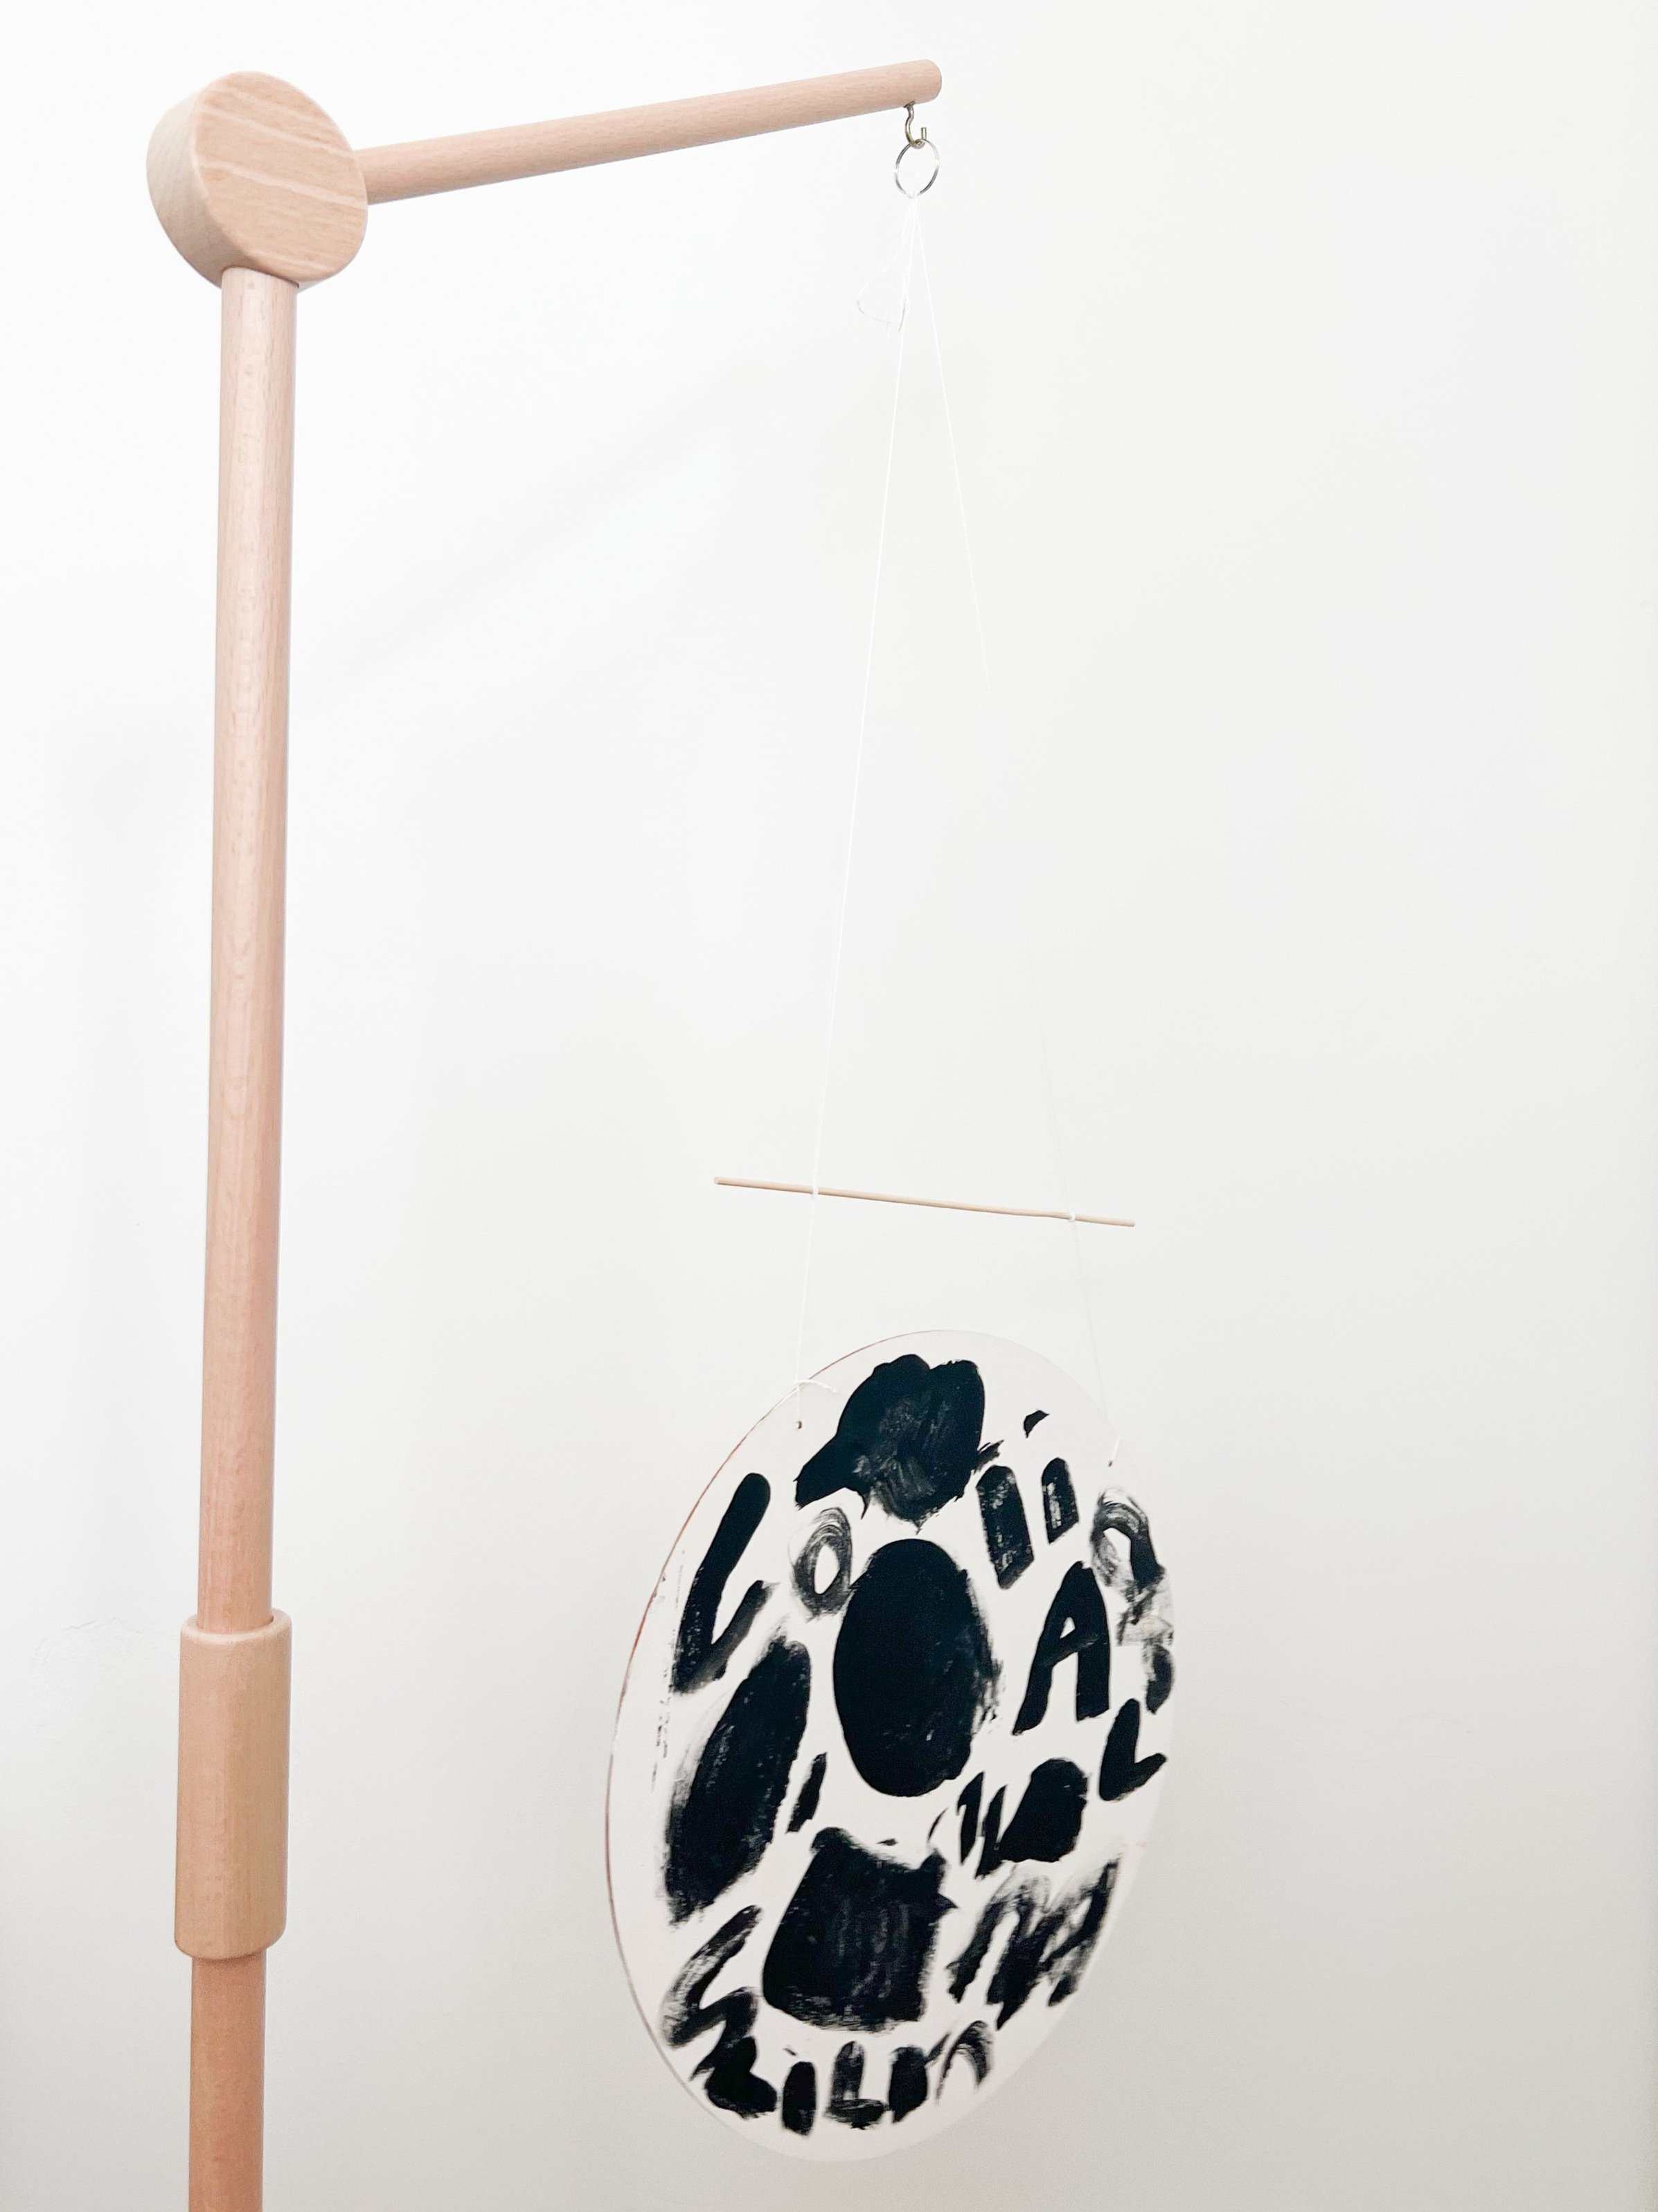
The Disc Spinner
Inspired by the traditional Munari (the first in the Montessori mobile series) this DIY mobile is perfect if your toddlers love to paint.
Materials:
Wood Circle Cutouts with holes for string (for this project I used a 12” in diameter)
Two thin dowels
Organic cotton thread
Black and white paint (l love the Natural Earth Paint brand)
Paint Brushes
Scissors
Hot glue
Metal Rings

Steps:
The night before, prep your project by painting both sides of your unfinished wood circle cutouts white. You can also invite your kiddos to help with this too. Let the paint dry completely.
Pull out the black paint and let your toddlers’ paint both sides of the white circle. It’s a chance for you kiddo’s inner-picasso go wild. For older kids, you can show them examples of the Munari or geometric shapes as inspiration to try and mimic.
Let the black paint dry fully.
Use your string to make one knot in the left hole. The lengths and heights of your wood and thread don’t necessarily need to be an exact measurement but with mine I found that a 20” worked well. What you’re aiming for is balance and attractiveness. You’l want the lowest part of the mobile to hang 12” above and angled toward your baby’s line of sight.
Make sure to connect the string to a dowel.
Add the metal ring in the middle of the string (in my case it was 10” since my string was 20”).
Connect the other side of the string to the dowel by tying a knot and then connect it to the right hole in your circle cutout.
Check the balance of your mobile before you officially glue it all together. Sometimes it takes tweaking to get everything right.
Use hot glue (or super glue) to strengthen your knots both on the cutout and the dowel.
Safety first! Trim any excess thread, ensuring there are no choking hazards. Find a suitable location to hang your Montessori mobile so that it’s safely out of your baby's reach while also making it easy for them so they can observe it without risk.


Ta da! That’s it. You’ve finished your first mobiles. Are you ready to try your hand at the second?

The Dual Spheres
Inspired by both the Gobi and Munari mobiles, this can be an easy upcycle project using any black and white leftover fabric pieces you have hanging around. If you are like me and don’t have fabric scraps, take your kids on a fun trip to your local craft store and let them choose their own favorite black and white patterns.
Materials:
1/4 yard of two different patterns of black and white fabric
4” foam balls (you can pick up the FloraCraft CraftFōM balls from Michaels that is made from recycled plastic)
One thin dowel
Organic cotton thread
Scissors
Hot glue
Metal Rings

Steps:
Cut a 7” diameter circle out of your fabric.
Cut a 25” long strand of cotton string.
Place your foam ball in the middle of the fabric.
Use hot glue to connect the fabric to the ball until it’s fully covered. Before gluing the last part of the fabric make sure to insert the cotton string into the top.
Tie each string to the dowel and then continue the string to the metal circle.
Use hot glue to strengthen your knots both on the cutout and the dowel.
Safety first! Trim any excess thread, ensuring there are no choking hazards. Find a suitable location to hang your Montessori mobile so that it’s safely out of your baby's reach while also making it easy for them so they can observe it without risk.
Creating DIY Montessori mobiles not only saves you money but also allows you to personalize your baby's learning environment. It's a rewarding project that combines creativity with a commitment to nurturing your child's early development. So, roll up your sleeves, select your themes, and embark on a delightful DIY journey to craft the perfect Montessori mobile for your little explorer. Happy crafting!
Love,
Lemon
